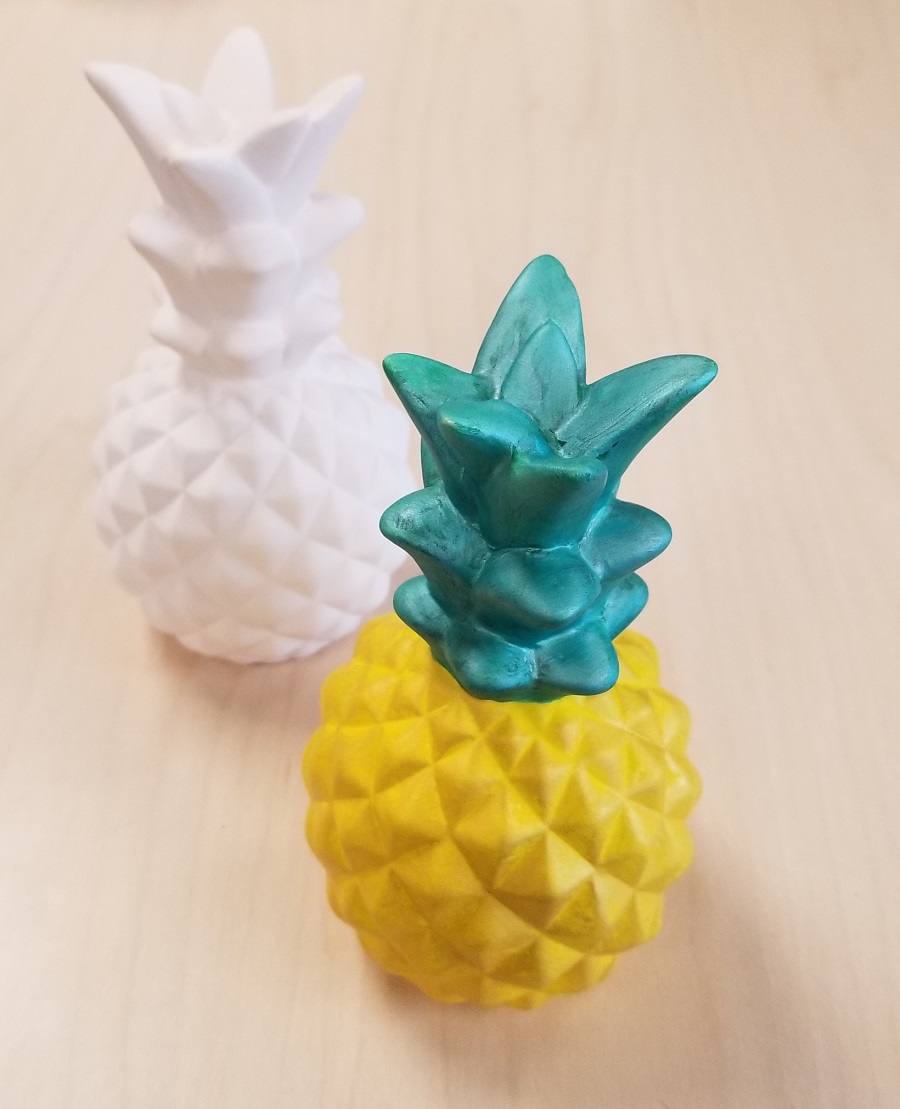
The summer is here, and with kids having tons of time on their hands a great way to spend it can be creating some super realistic ice cream clay sculptures! This activity not only engages kids by capturing their creativity, but is also super fun and can produce some amazing results! Here is a step-by-step guide on how to get your ice cream clay sculpture to come out great:
Materials:
- Air-Dry Clay in colors of choice
- Foil
- Paper cone (Can use construction paper for DIY)
- Color Splash Acrylic Brown paint
- Paint brush
- Liquid glue
- Sprinkles (fuse beads or sequins)
- Optional: a rock or two from outside (used in Step 2)
- Hand Lotion
Step 1:
Paint your paper cone so it looks more like an ice cream cone then let dry. You could always add another coat of paint or even try to add lines to make it look like a waffle cone.

Step 2:
Squirt some liquid glue down inside of your cone. If you have a rock from outside that you can use, drop this into the bottom of your cone. This is to help give the cone some weight. Then take a piece of foil and crumple into a ball and place on top of the rock. This provides a base for your “ice cream scoops” to sit on.

Step 3:
What flavors are you going to create? This is where you get to use your imagination and create the scoops to your liking. Will it be Strawberry? Or maybe Chocolate Chip Mint? Think of the color of your first scoop and then grab your Air-Dry Clay.

Step 4:
You can mix colors to create exactly what you’d like. Once you have the color for your first scoop, mix in some hand lotion. We didn’t measure but kept adding squirts. This helps give the clay a softer look and feel so it looks just like real ice cream… but no eating it.

Step 5:
Take a portion of the “flavor” you just created and flatten it out. Then drape it over your cone. Remember that it doesn’t have to look just like a circle. You could even let some pieces hang down longer to look like melting ice cream.


Step 6:
Add liquid glue so that your scoop will stay in place. Repeat this step for the remaining scoops.

Step 7:
Flatten out the rest of your first scoop color and fold it over another ball of foil. You don’t have to cover the bottom of the foil because that part won’t be seen. You can fold the edges up to look like a real scoop of ice cream. Repeat this step for the remaining scoops.

Step 8:
Pour liquid glue over all your scoops and rub it in with your finger. This will help give your ice cream a more realistic shine. This also helps if you’re adding on “sprinkles”. We used resin sprinkles, but you could use chunky glitter, cut up plastic straws, beads, or maybe even real sprinkles.

Step 9:
Let dry and now you have your very own ice cream cone art creation! You could even make one that looks like you dropped your ice cream on the ground. In this photo, the cone on the left is actually our doorstop but it inspired us to see if we could make one like it. Do you think our creation looks real?


About the Author:

Randi is the founder of How 2 Play Today. She created this online community to share ideas and help inspire others to create. Randi has always had an interest in child psychology and has been following that passion since she was a kid herself. Over the years, Randi has been capturing adventures of her and her children and sharing these ideas on her website at how2play.today. This helps busy parents and caregivers who want to play more with their kids but need ideas, product suggestions, and a simple guide for activities.


