What’s up Phys Ed Fam!
If you’ve watched many of my videos on social, you’ve probably noticed the different climbing elements around my gym. I get lots of questions about these and hope that this post will answer all of those and possibly assist you in getting some cool climbing elements installed in your teaching space as well.
Change Takes Time
Before I give you a tour of all of the climbing elements, I just want to put it into perspective that it was a 13 year journey getting all of the different things that I wanted, so remember that Change Takes Time!
- Links and info from the video above and timeline of my gym transformation can be found on this post
The Benefits of Climbing Equipment
Ever since I was a kid I always loved climbing anything that I could, rocks, trees, fences, ladders… you name it. This passion has continued even into my adult life and taken on more mature forms like doing Rock Climbing and Hiking.
While I wasn’t really aware of it at the time, it’s been really interesting as I got into my education career to read all the research that shows the Benefits of Risky Play for kids.
Aside from the obvious benefits of climbing activities improving muscular strength and endurance in a fun way, there are so many other benefits of kids engaging in what might be called “Risky Play” which less and less kids are given the opportunity to participate in now days due to more screen time and also kids having less freedom to be independent.
You can simply Google “Benefits of Risky Play” and find tons of articles, science and research studies that will be great to reference when you’re making a request for climbing equipment and want to explain how it will benefit students (aside from the obvious benefits of increasing muscular strength).
I think subconsciously I was aware of many of the benefits and I do try and give my own kids plenty of opportunities to learn to Do Dangerous Things Carefully and learn to manage risk, navigate problems, make decisions and all of the important life skills that they will need later on.
Now that we’ve gotten the “Why Climbing Equipment is Beneficial for Students” out of the way, lets get into the Tour
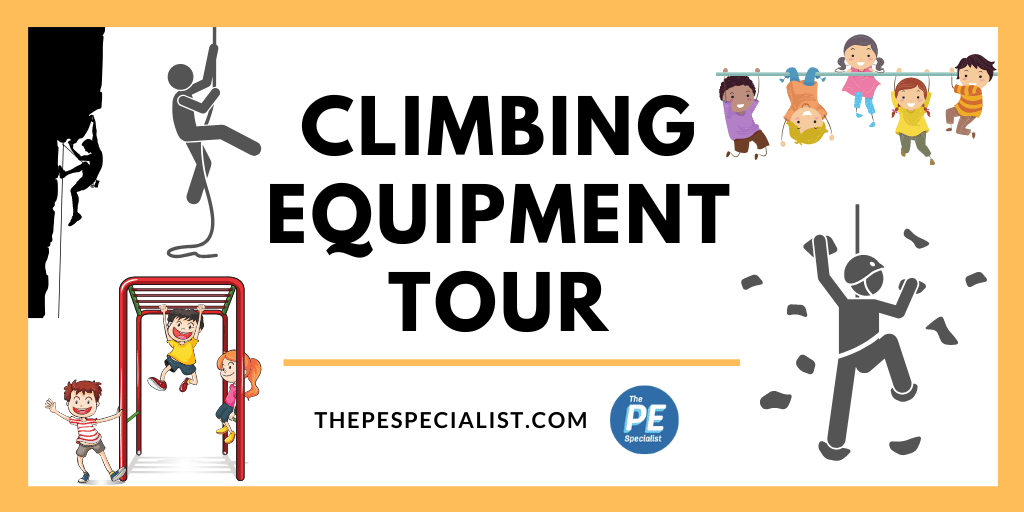
Climbing Equipment Tour
In the video below you’ll see a complete overview of all of the climbing elements that we’ve had installed at my school and I’ll also break them each down individually later in this post.
As you can see from the video I’ve got 2 rock walls, 2 ropes, 1 wall mounted monkey bars and 1 wall mounted cargo net.
All of the equipment was purchased from Everlast Climbing except for the Climbing ropes, which you can get from any equipment provider.
I’ll break down each piece of climbing equipment down below as well as provide the rules I use for each one.
Each piece of equipment was purchased over time and you can see the timeline of everything in the Change Takes Time post if you’r interested.
Rock Climbing Wall
A rock climbing wall is probably the most popular climbing element that I’ve seen installed in school gyms, it’s a really fun way to allow your students to challenge themselves and improve their muscular endurance at the same time.
There are lots of different activities you can do with a rock wall and also you can always add more holds to create more climbing routes to challenge your students, or you can modify the routes that you already have.
Check out the video below for a walkthrough of our climbing wall:
Our first purchase at my school was what I call “The Number Rock Wall” and is a basic rock climbing wall
- Each section is 8 feet tall and 4 feet wide = 5 sections 20 feet long
The second purchase was to fill out the rest of the wall with a “Relief Feature Climbing Wall” which is basically the same, but the upgraded feature of having little natural rock holds screwed into the wall to give it more of a natural feeling, this is what I called the “Letter Rock Wall” in the video.
- Each section is 8 feet tall and 4 feet wide = 6 sections 24 feet long
Both of our rock walls are traverse walls, meaning student travel across the wall and not up the wall. The red line is the safety line so students must keep their feet below the line. The rock wall also has different holds which are color coded to indicate different climbing routes and for the difficulty of that climbing route.
Another fun challenge you can do is the noodle challenge. Students try to climb through the noodles on the wall with a goal of keeping the noodle on the wall. We have three on the wall which creates another station. Three students can practice at a time. They start at the blue piece of tape marked “start” and climb through to the “finish” tape line.
You can also just put a short noodle piece in these as well and use them as a climbing obstacle on the wall that students try to climb around.
*This post is not sponsored by Everlast, but that’s who we used for most of the equipment, you can get the noodle holders from their website under climbing wall accessories, but there might be other companies with great accessories as well so google around.
You can check out the Noodle Holds from lots of retailers, but ours came form Everlast, I don’t remember were we got the noodle holders, but I’m sure you can google around and find some Here’s an Example
My Rock Climbing Wall Rules:
- One person per section at a time
- Never stand or walk on the mat while people are climbing
- Do not jump off the wall
- Feet must stay below red safety line
- Have Fun Getting STRONG!
Climbers and Coaches Climbing Wall Intro Activity
Here’s a fun activity I use to introduce the rock wall to my Kinder and First Grade students for the first time called Climbers and Coaches:
Adding more holds to your climbing wall
Since I originally wrote this post, one update that I’ve made is to add a bunch of holds onto my original climbing wall (the one with the numbers on it) you can see the process below:
I think the project turned out pretty well and other than needing to order a smaller screw I didn’t experience too many hang ups with installing the new holds onto the wall.
I wanted to get some blue colored holds from the same company, but since they were out of stock I ended up getting a variety pack of 200 smaller holds and a pack of 5 larger jug holds.
Since some of the holds were too shallow for the 2″ screws I had to purchase some additional 1.5″ screws to make it work
The screws I used for the smaller more shallow holds:
These were the exact same size as the ones that came with the holds but 1/2 an inch shorter
- 3/8-16 x 1-1/2″ Socket Head Cap Screws – https://amzn.to/47BGOi5
Holds I used to update my wall:
- 5 Large Jugs – https://amzn.to/47nYb5N
- 100 Variety Pack Smaller Holds – https://amzn.to/3TMtgwB
If you’re planning to tackle a project like this, I’d definitely recommend an electric drill to save on time and efficiency
That’s it for the Rock Climbing Wall – if you have a fun climbing activity hit me up on social and share it, I’d love to hear about it.
Climbing and Swinging Ropes
Climbing ropes and Swinging ropes are a great way for students to improve their muscular strength and also get that fun adventure experience of doing a rope swing – it’s so much fun!
Check out the video below for a quick overview of the ropes:
The Climbing Rope:
A climbing rope will be customized in length depending on how tall your ceiling is, so you’ll need to measure it when ordering to get the right size.
I mark with scarves the different levels of difficulty based on grade level so students know how high they can climb.
The climbing rope knot has a spacing of 18 inches apart.
The tallest knot that I let kids climb up to is about 10 feet off the ground.
My Climbing Rope Rules
- One Person at a time
- Never stand on the mat when others are climbing
- Do not go past your Grade Level Color
- Do not swing on or jump down from the Climbing Rope
- Have Fun Getting STRONG!
The Swinging Rope:
The swinging rope only has one knot which I added myself and some smaller grips for students hold onto.
For rope storage I just tie the rope onto a carabiner, using a pulley system and pull it up into the ceiling and then tie off the rope to a dock cleat that we screwed into the wall.
If you need to lock up the rope for safety reasons, you can purchase a wall mounted rope lock (here’s an example).
It’s important to do a yearly rope inspection on the climbing ropes to make sure they are secure.
My Swinging Rope Rules:
- First Pass the “5 Second Test”
- Hold yourself off the ground for 5 Mississippi’s
- One Person at a time
- Only swing ONE way (do not swing back)
- Drop or walk the rope to the next person
- Have Fun Getting STRONG!
Here’s a clip of my introducing the ropes to my students at the beginning of the year:
I also make up different levels of challenge to gamify the rope swing, you can see an example below:
Rope Swing Gamified Challenge Example:
That’s it for the ropes, they are definitely one of my students favorite challenges to try out!
Monkey Bars & Cargo Net
The wall mounted Monkey Bars and Cargo Net are 2 really fun climbing elements that we had installed on the gym walls in one of the corners.
Check out the video below for a quick walkthrough of each:
Monkey Bars
Since I am in charge of training students on the monkey bars at my school, I was really excited to add the monkey bars because it saves me class time and also gave students more opportunities to practice using monkey bars.
Having the monkey bars and cargo net separate from the rock climbing wall allows for more student participation, so I prefer our setup for that reason.
How High Did You Mount Your Monkey Bars?
- My bars are mounted at 7.5 ft high, which means the blue bracket is mounted at 8 ft off the ground since the design of my bars has the bar hanging 6″ below the bracket
- The reason I chose this height was to give the tallest kids in the school the ability to climb without allowing their feet to touch the ground
If you do get the monkey bars mounted away from the rock wall, just get an additional climbing wall panel installed next to them so students will have a way to climb up onto the bars.
I made our rock panel next to the monkey bars a little more difficult because it serves as a filter for students. If they aren’t strong enough to climb up the wall to the monkey bars, they probably shouldn’t be using the monkey bars … YET! (so I tell them to go practice on the Cargo Net instead)
I begin introducing monkey bars in First Grade since our First Graders have monkey bars on their playground for the first time (we have a separate Kindy Playground)
Check out the video below on the Power of Yet:
Monkey Bar Rules
- One person at a time
- Do not swing or hang upside down
- If you must drop or fall – land on your feet
- Do not climb on top of the bars
- Have Fun Getting STRONG!
The Cargo Net
For the Cargo Net, I allow two students to go at the same time on each large mat section (similar to our Climbing Wall Rules).
They can climb up to the red bar but shouldn’t put their head past the red bar.
Cargo Net Rules
- Always start facing the wall
- Do not put your HEAD past the RED bar
- Only 2 at a time (one on each side)
- Never stand on the mat while others climb
- Do not jump down or hang upside down
- Have Fun Getting STRONG!
Pull Up Rings
Another good strength building option is some gymnastics rings you can purchase online and hang them from a basketball goal or any other area in your gym.
It’s a cheaper alternative when compared to a pull up bar if you have somewhere you can hang them in your gym.
Climbing Equipment Rules Signs
In case you want to use the exact same rules that I do, or if you just want an example to create your own from you can download my Climbing Equipment Rules Signs below:
FAQ Section
What about installation?
We had ours professionally install and would recommend you do so as well if possible to avoid liability. However, depending on your level of expertise and what your administration feels comfortable with, you can save a lot of money installing it yourself or having the district facilities team install it.
How much does it cost?
You will need to get a quote from the manufacture but each install is going to be different since it’s all custom based on your space and what you want.
That’s It!
Hopefully that was helpful and remember Change Takes Time.
None of this stuff was here when I got here it took me time to figure out what I wanted and to raise the funds and support to make it happen.
If you have any questions hit me up on social or through the contact page.
Best of luck if you’re in the process of getting some cool climbing equipment installed in your gym.
Remember that when you are looking for approval for this kind of thing, it’s always important to communicate how it will positively impact students, because that’s what it’s all about!
Have a great day and as always…
Have Fun and Teach On!